Run the MassAI Sample Level
- Open the settings menu in the Content Browser within Unreal.
- Enable the option for “Show Plugin Content”.
- In the Content Browser, navigate to
/Plugins/InworldMassAI. - Double-click on the
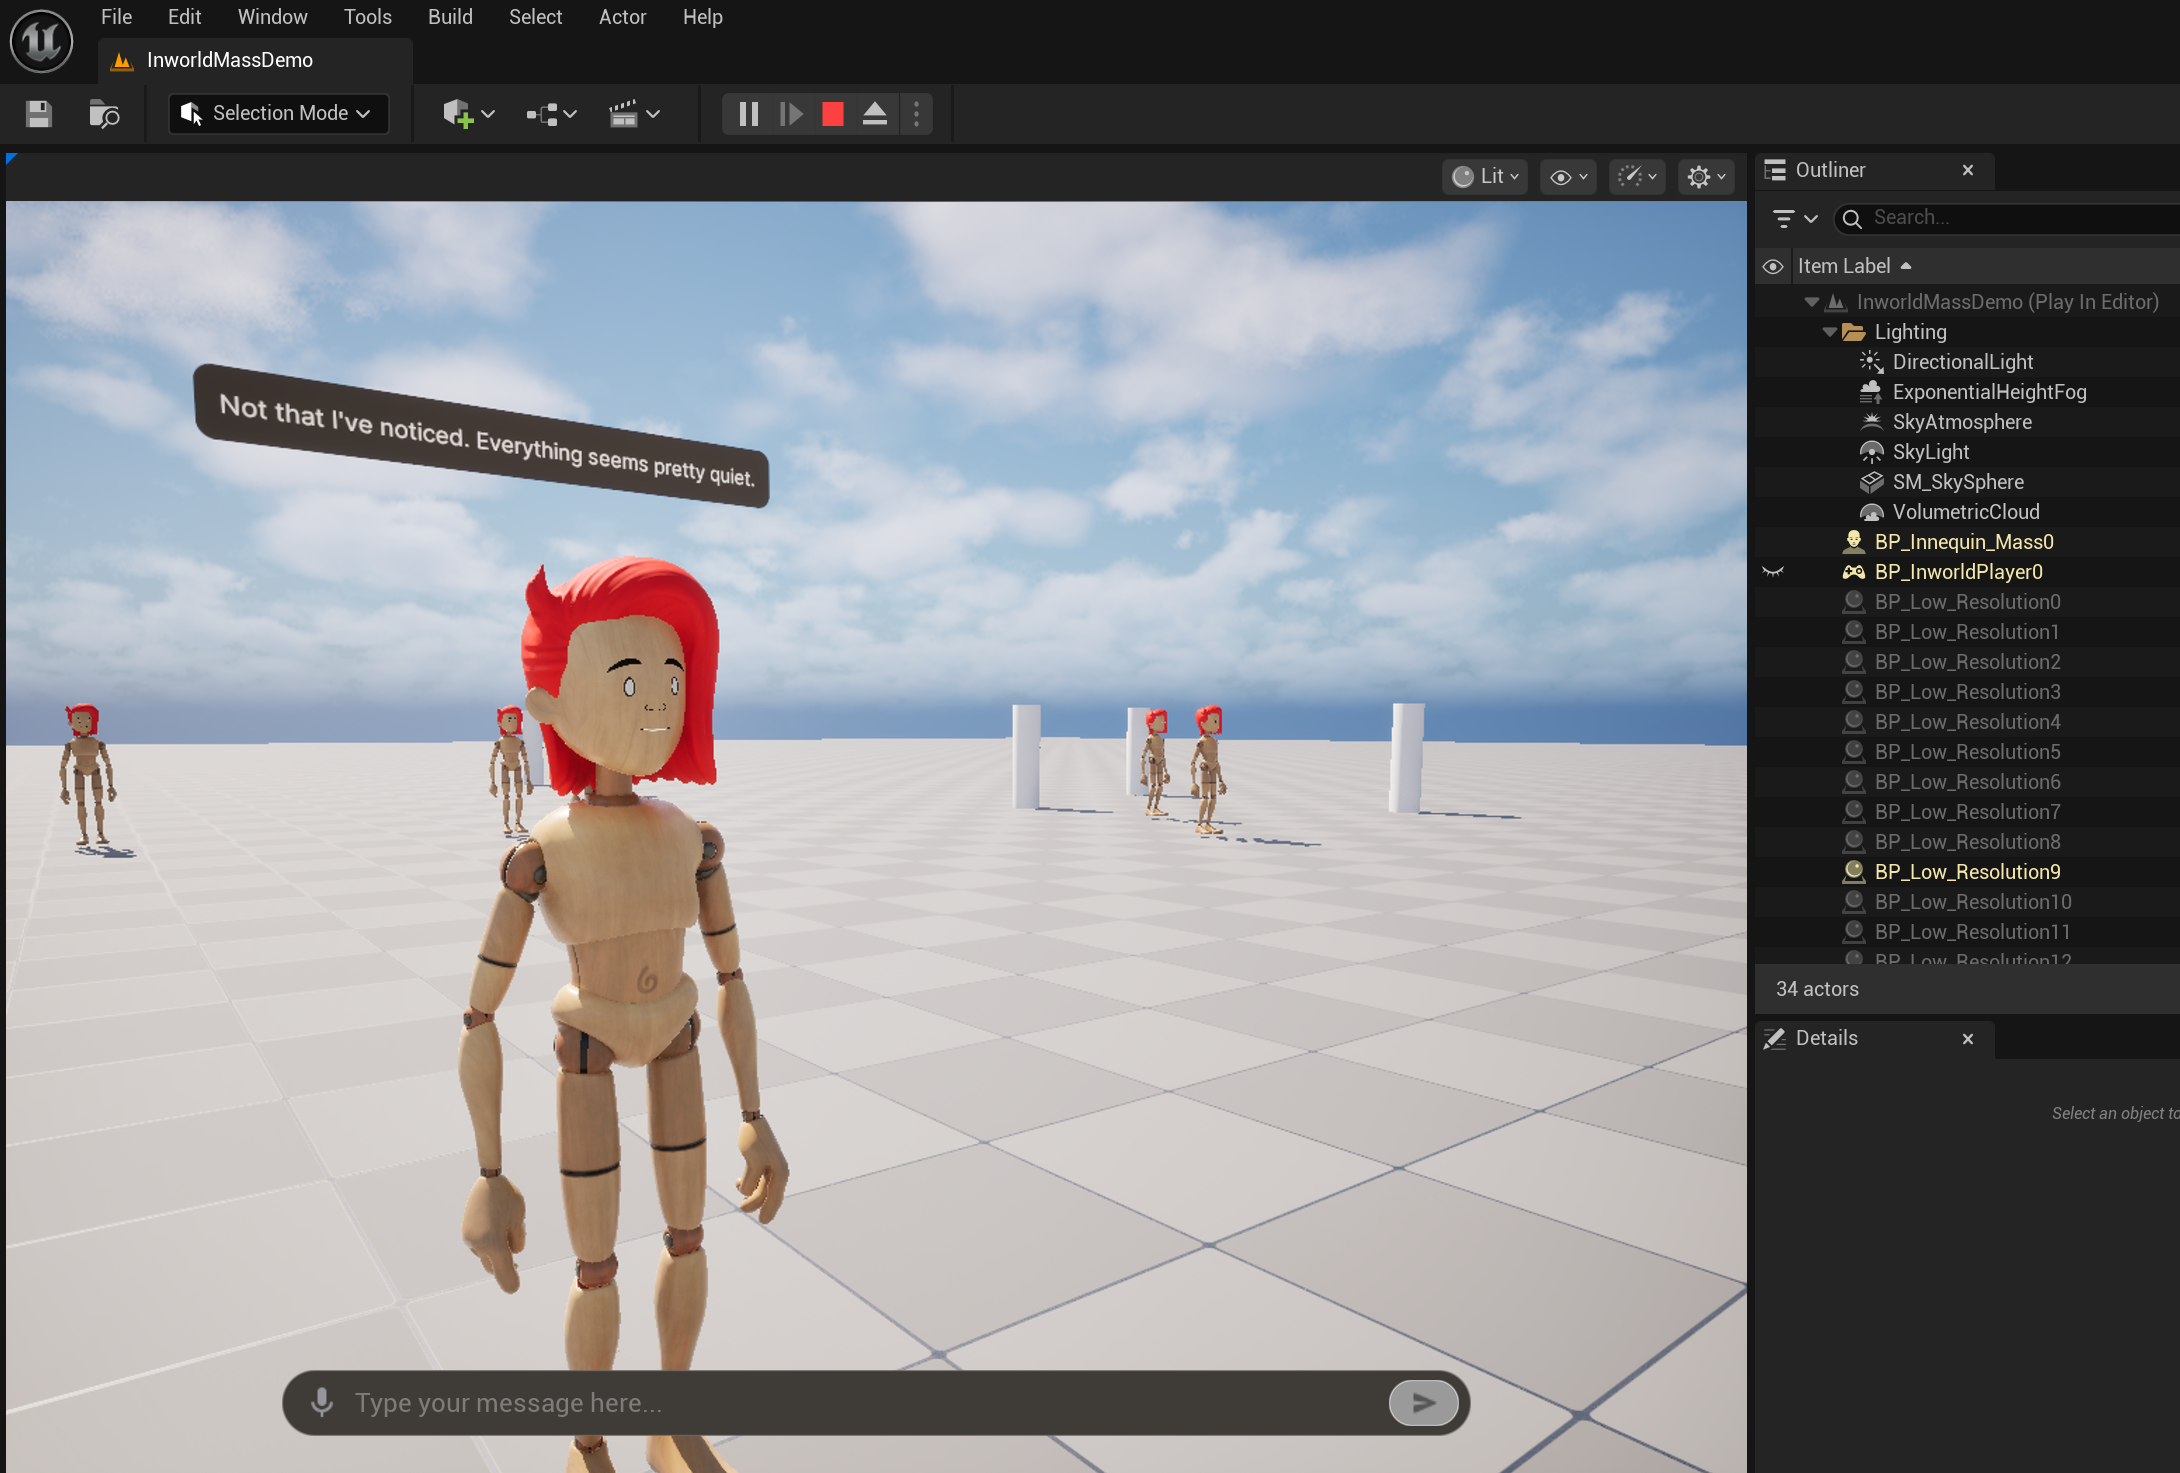
InworldMassDemomap. - Click the Play-in-Editor button (alt+p) to launch your level.
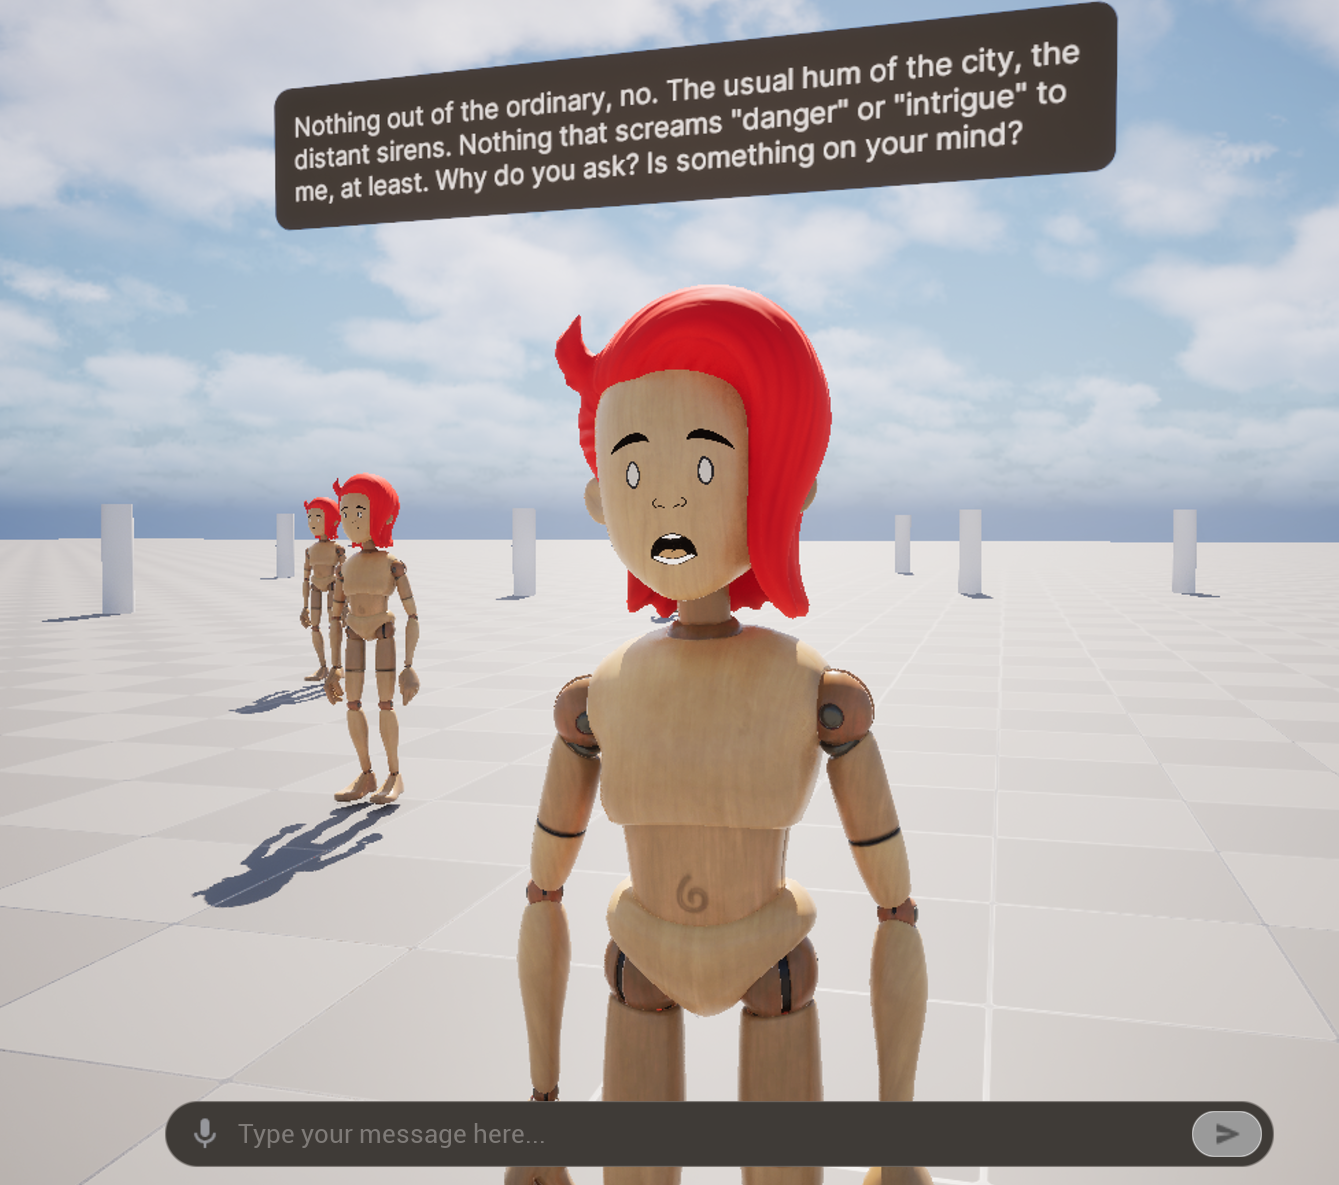
- Have a conversation with any character closest to you!
Template Overview
The MassAI template provides a powerful system for creating large-scale AI-powered Inworld characters in your scene using theMassSpawner entry point. This template demonstrates how to spawn and manage multiple AI characters efficiently using Unreal’s Mass Entity System.
This template also covers how to set up the necessary assets for the MassSpawner, including the MassEntityConfig and EQS_SpawnEntity configurations.
To send a message to the characters, you can either:
-
Type your message in the text box and press enter (or click the send button).

-
Talk using your microphone. Simply click the microphone icon at the left end of the text box to toggle the microphone on or off.
The audio capture component will automatically detect when you have completed your message and send the message to the conversation target.
Microphone Off Microphone On 

MassSpawner Configuration
TheMassSpawner is the entry point for spawning multiple AI characters in your scene. When you place a MassSpawner actor in your level, it automatically initializes and spawns entities based on your configuration. The spawner reads the MassEntityConfig to determine what components and traits each entity should have, then uses the EQS_SpawnEntity generator to figure out where to place them in the world.
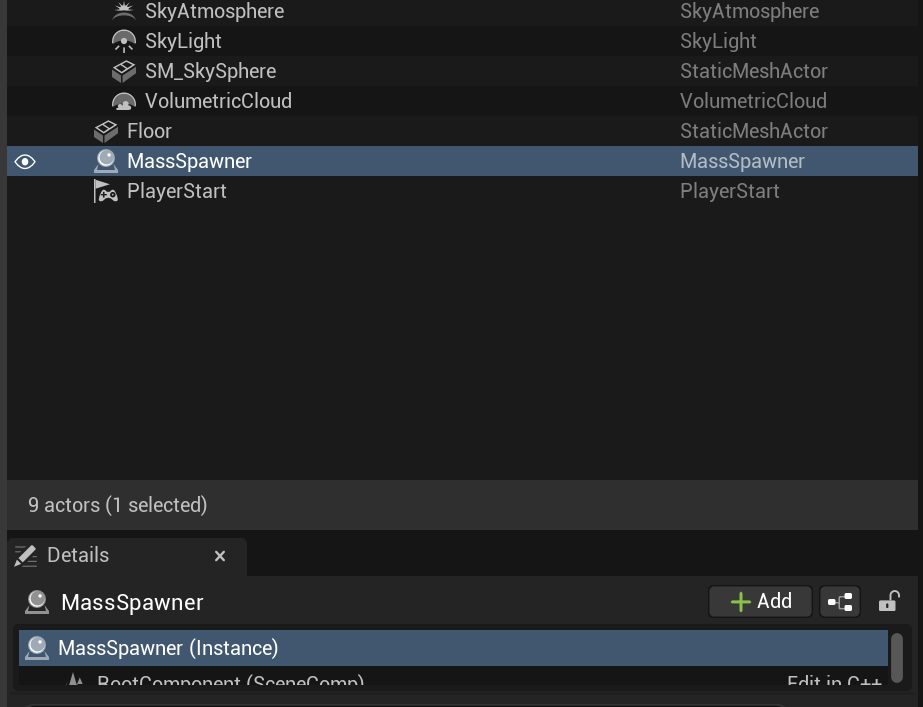
MassSpawner, select it in the World Outliner and adjust its properties in the Details panel.
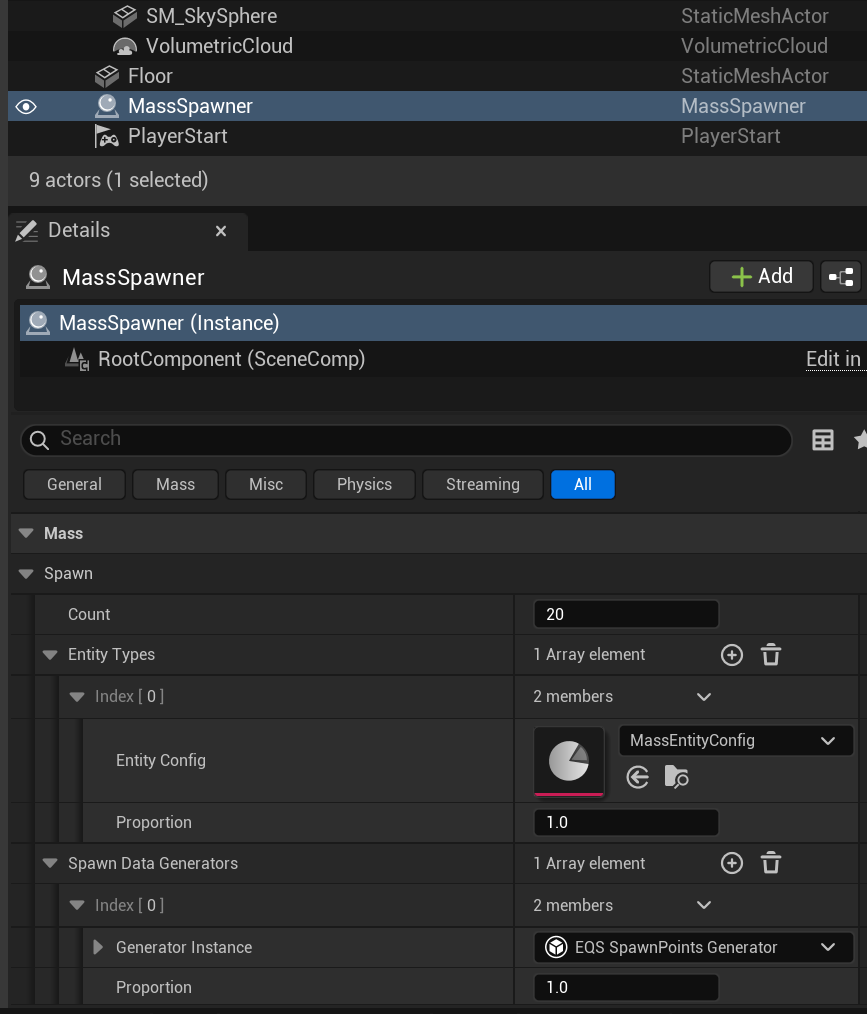
Count
The Count property determines how many entities the spawner will create. This is a simple integer value, set it to the number of AI characters you want in your scene. For example, setting it to20 will spawn 20 Inworld-powered characters when the level starts.
Entity Config
The Entity Types array lets you specify whichMassEntityConfig asset to use for spawning entities. Each entry in the array contains:
- Entity Config: A reference to a
MassEntityConfigasset that defines what components and traits each spawned entity will have - Proportion: A weight value (typically
1.0) that determines the relative probability of this entity type being spawned when multiple types are defined
MassEntityConfig asset is a standard Mass Entity System configuration that defines the components and fragments that make up an entity. Most of the configuration in MassEntityConfig follows standard Mass Entity System patterns, things like transform components, level of details(LOD), and other gameplay-related fragments are configured here as they would be for any Mass entity.

Inworld Character Traits
TheInworld Character Traits fragment is where you configure the Inworld-specific properties for each spawned character. In this demo, the trait system supports batch generation and configuration of Character Profile and Voice settings for each spawned entity.
The trait fragment contains:
- CharacterProfile : The character profile data that defines the character’s personality, backstory, and behavioral traits.
- Voice : The voice configuration that determines how the character’s speech is synthesized and played back.
For more information on how to configure a character, see the Character template.
MassSpawner creates entities, it applies the Inworld Character Traits fragment to each one, which automatically sets up the necessary Inworld components and registers the character with the conversation system. This allows each spawned entity to function as a fully interactive AI character that can respond to player input and participate in conversations.
The actual configuration and initialization of these traits happens in C++ code. To understand how traits are defined and how the initialization process works, you can examine the source files:
Source/InworldMassAI/Public/InworldMassAITypes.h- See how traits are defined in the trait structureSource/InworldMassAI/Public/InworldCharacterTrait.h- See how traits are initialized when entities are spawned
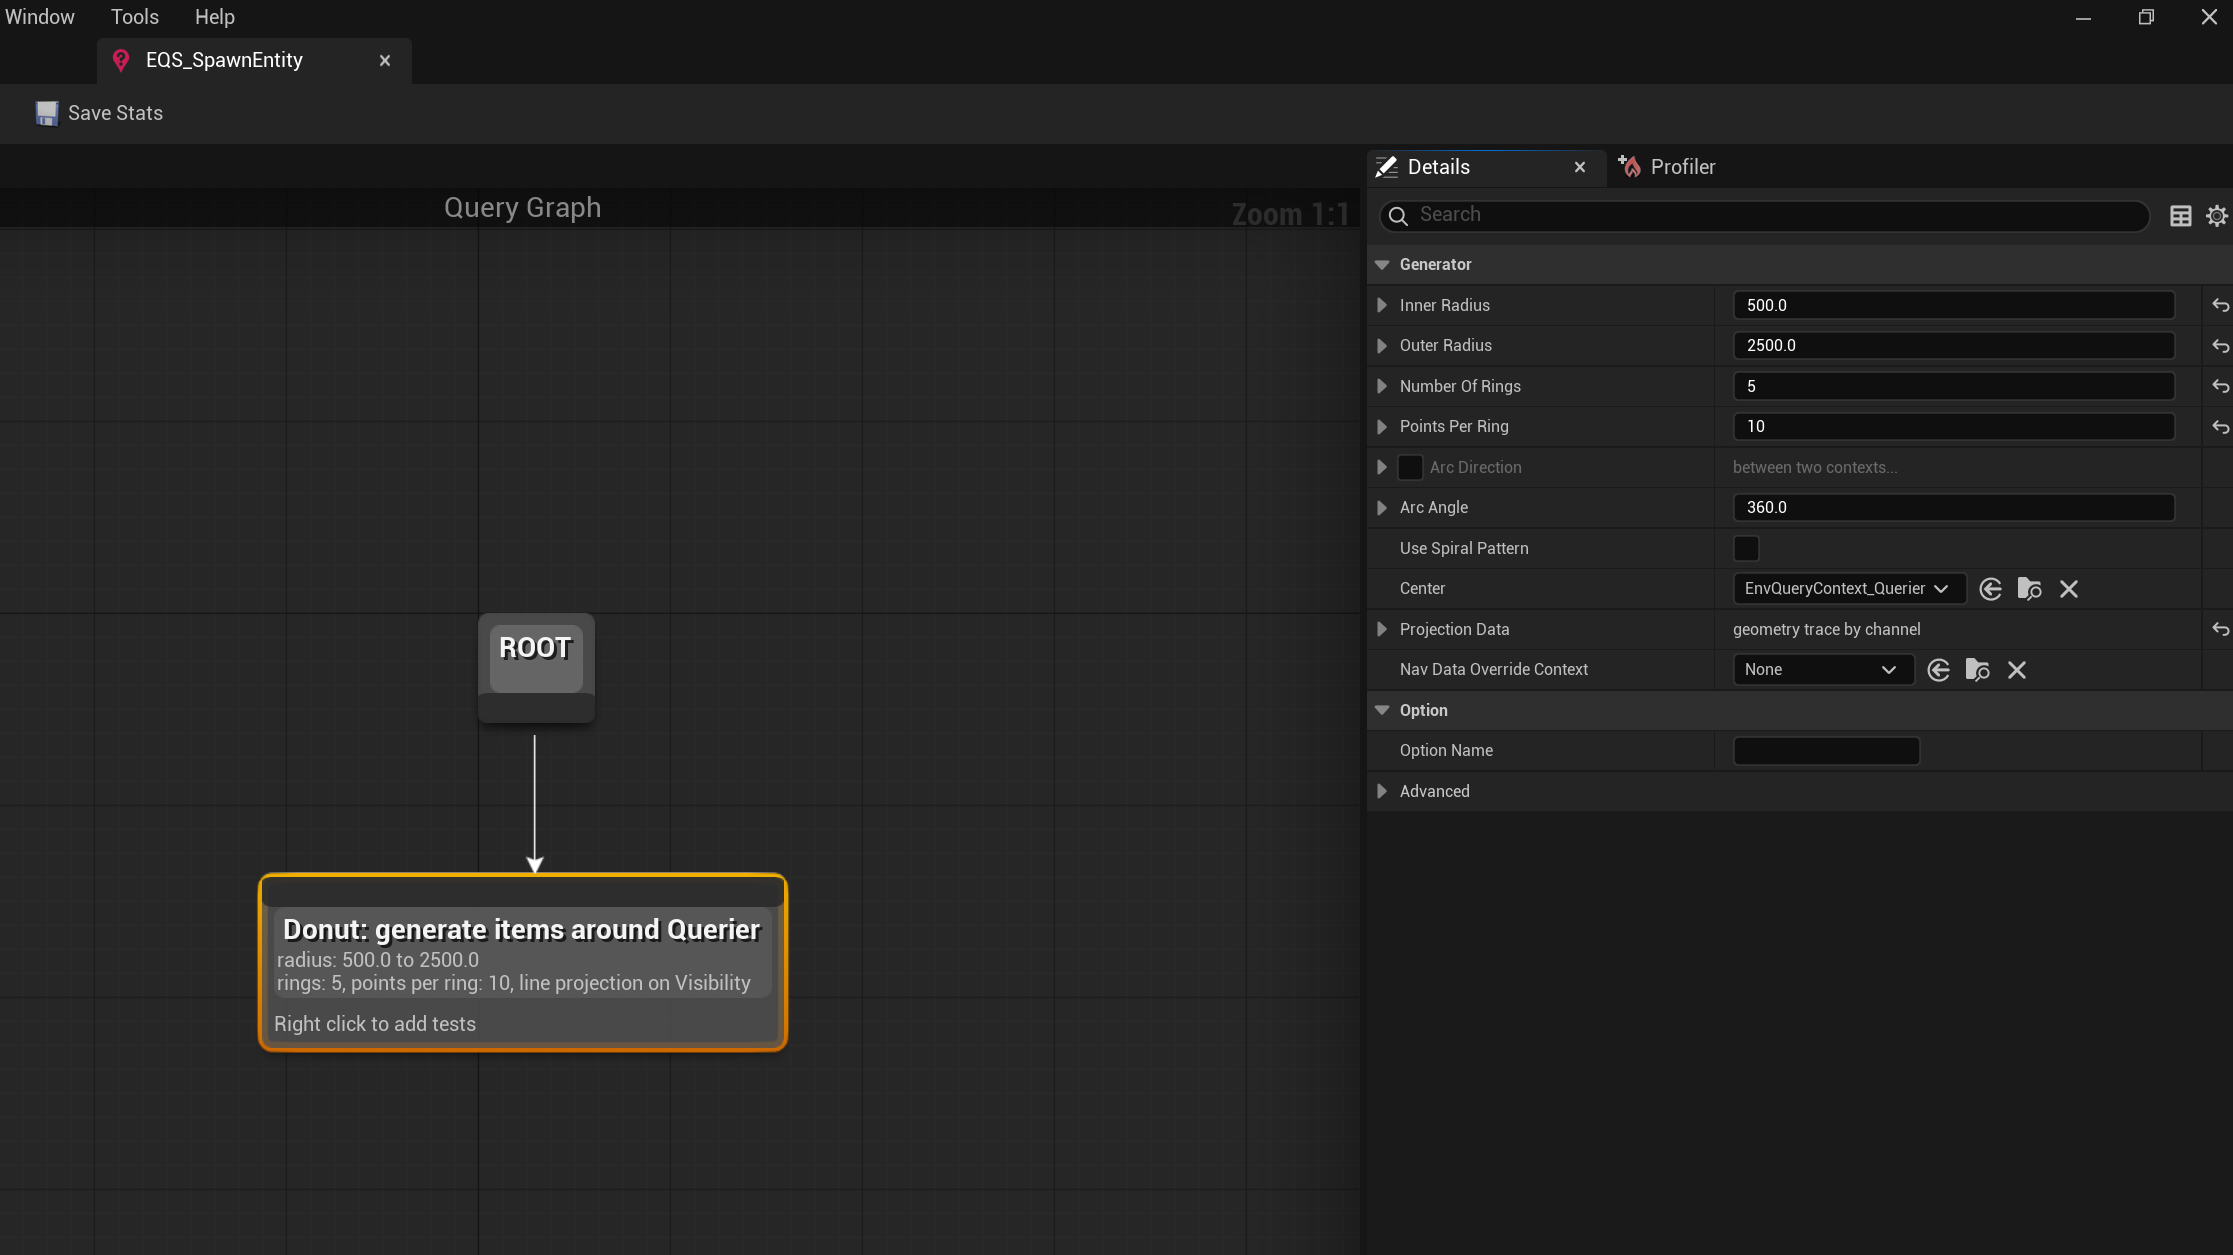
Spawn Data Generators
TheSpawn Data Generators array determines where entities will be placed in the world. In this demo, the EQS_SpawnEntity generator uses a “Donut” pattern to spawn characters in concentric rings around the querier (typically the player or spawner location), with configurable inner and outer radii, number of rings, and points per ring. Beyond this pattern, EQS generators can also spawn entities based on navigation meshes, random points, grid patterns, or custom query logic to suit different gameplay scenarios.
Graph
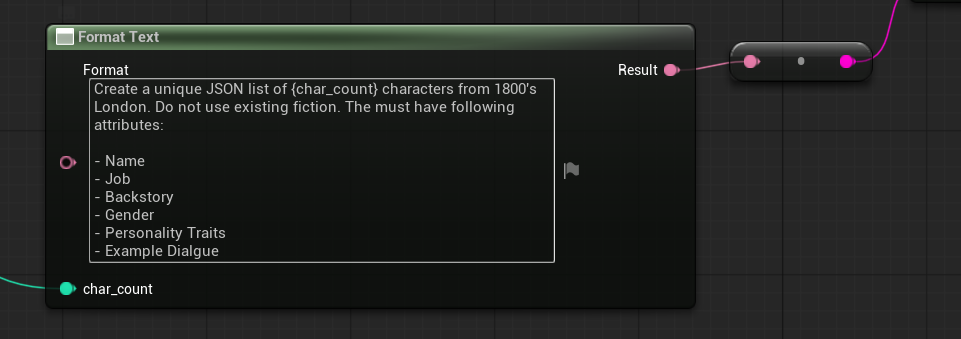
This template uses an Inworld graph to generate character profiles dynamically at runtime. Let’s walk through how this graph works. The graph starts with an input node (denoted by the blue arrow), which allows you to pass an integer variable at runtime. This value is determined by the type specified in the Details panel and represents the number of characters to generate.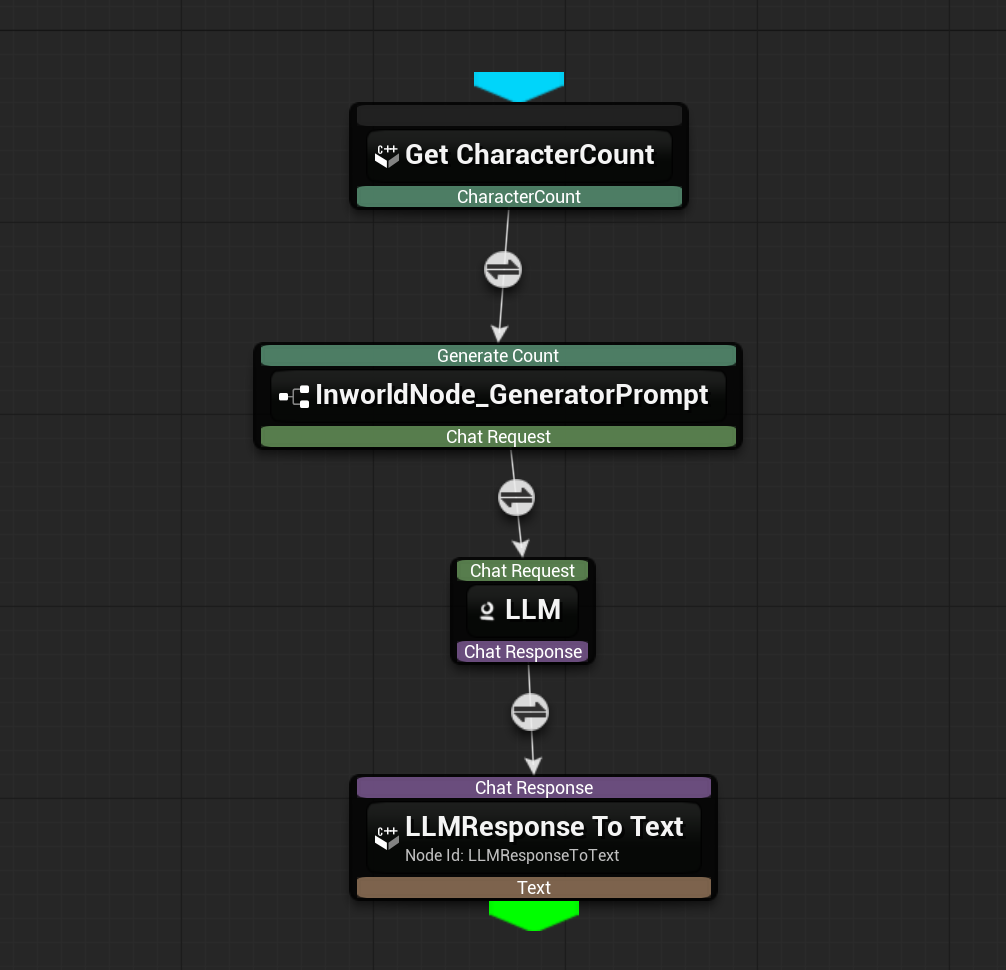
Source/InworldMassAI/Public/InworldMassAIGraphExecutor.handSource/InworldMassAI/Private/InworldMassAIGraphExecutor.cpp- See how the graph is compiled and executed, and how results are handled