

Don’t have audio samples? Use Voice Design to create a voice from a text description instead.
- Through Inworld Portal - Go to TTS Playground > Create Voice > Clone and follow the guided flow.
- Via API or SDK - Useful if you want to clone a lot of voices or expose this capability to your users.
Clone a Voice in Portal
Go to Inworld Portal
In Portal, select TTS Playground from the left-hand side panel. In the TTS Playground, click Create Voice and select Clone.
Upload or record audio samples
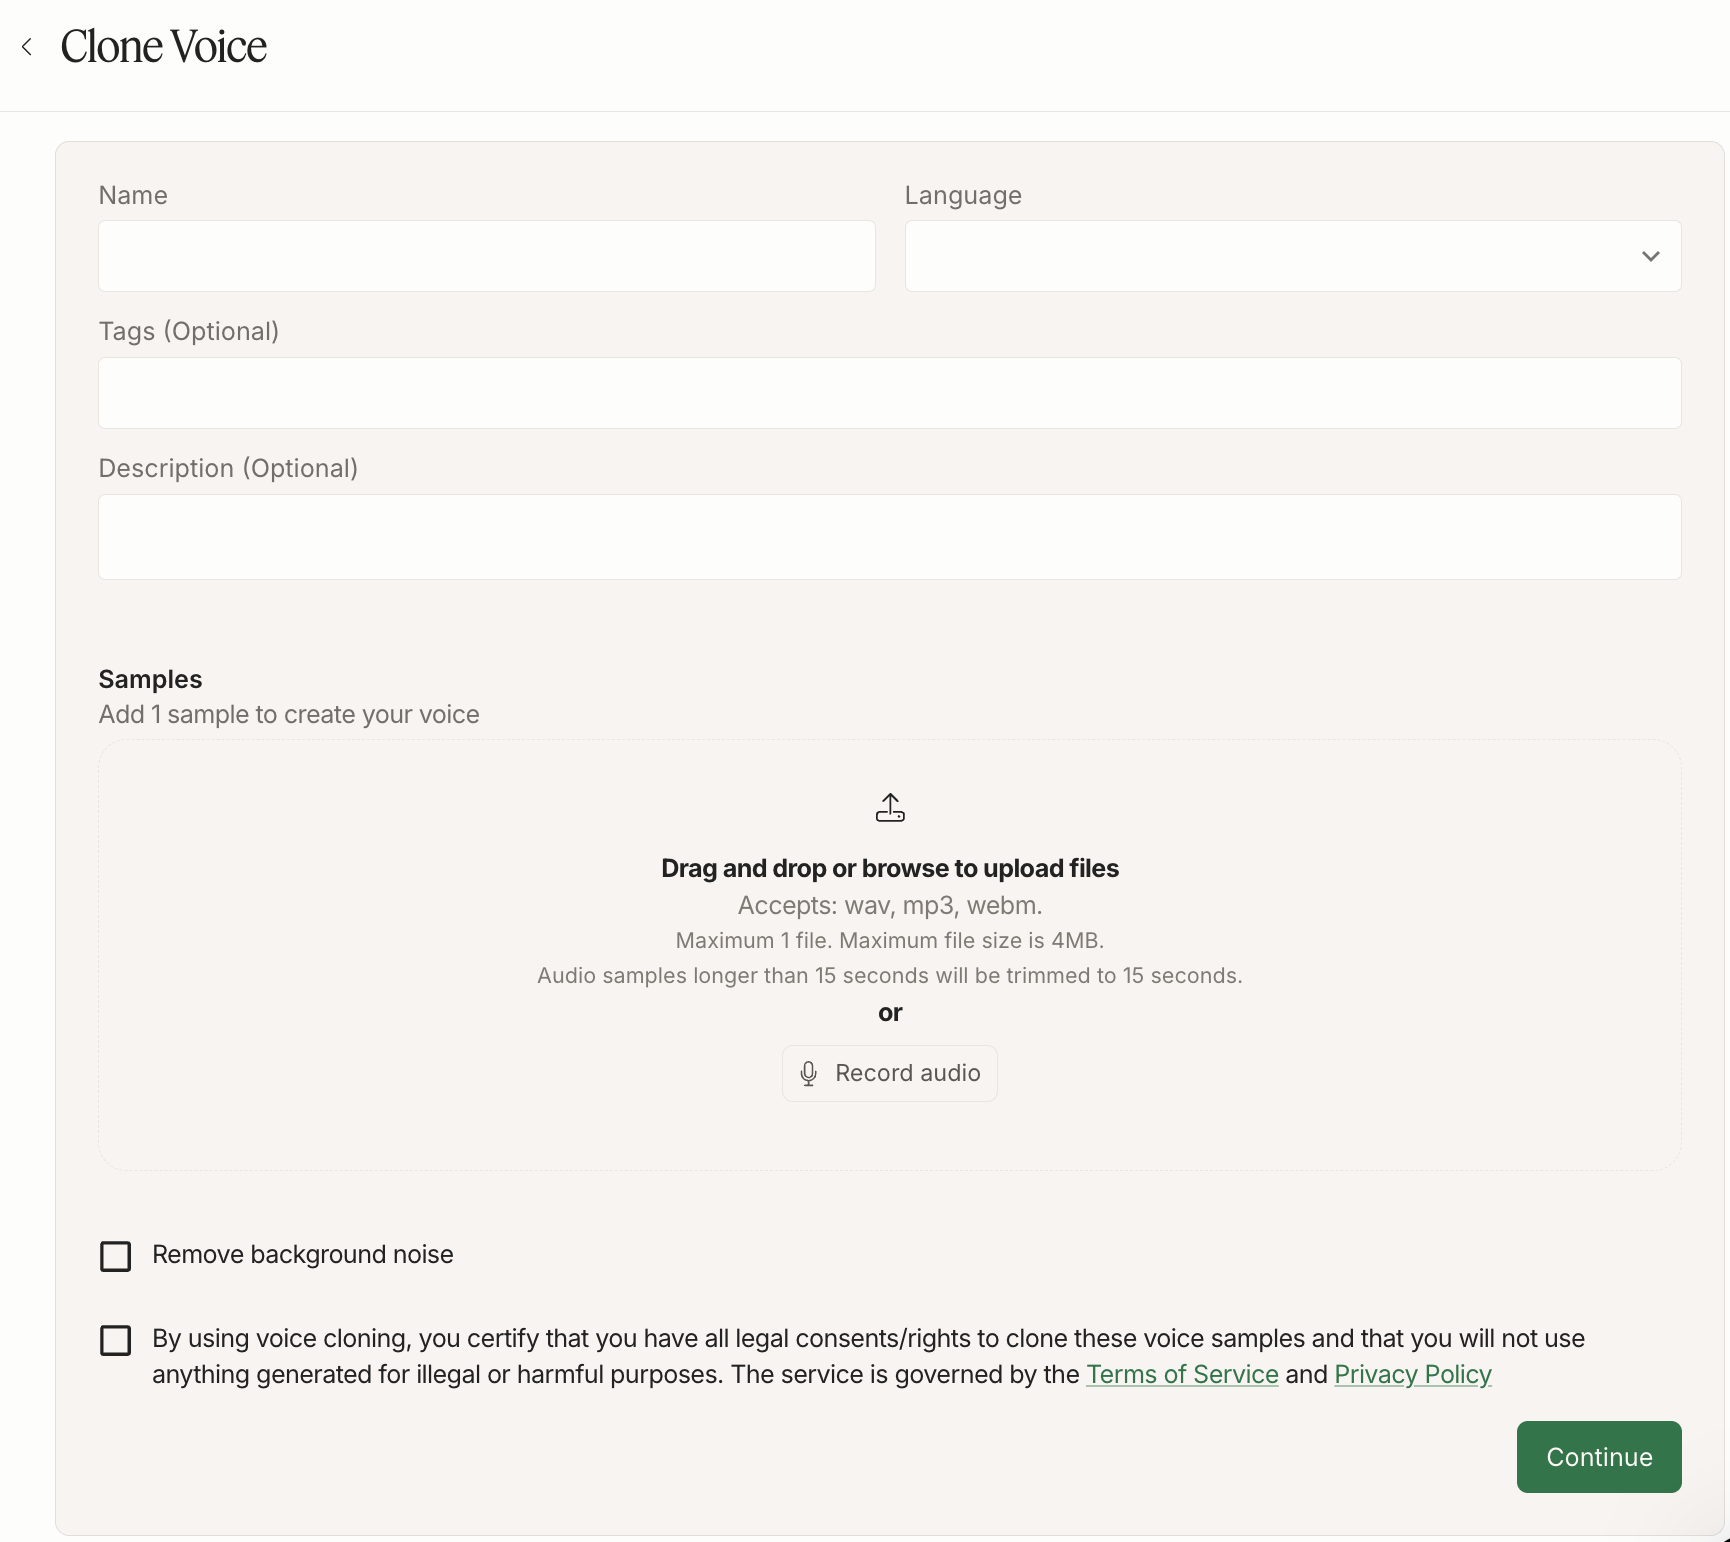
Other if you’re cloning in an experimental language.You can either upload or record audio:- Upload: Drag and drop or browse to upload 1 audio file. Accepted formats: wav, mp3, webm. Maximum file size is 4MB. Audio samples longer than 15 seconds will be automatically trimmed to 15 seconds — we’re working on supporting longer prompts soon.
- Record: Click “Record audio” and record your audio. You can use the suggested scripts to help guide your recording, or use your own script. For best results, record in a quiet place to minimize background noise, avoid mic noise, and speak with a variety of emotions to capture the full range of the voice.
Check out our Voice Cloning Best Practices for helpful tips and tricks to improve the quality of your voice clones.
Test your cloned voice
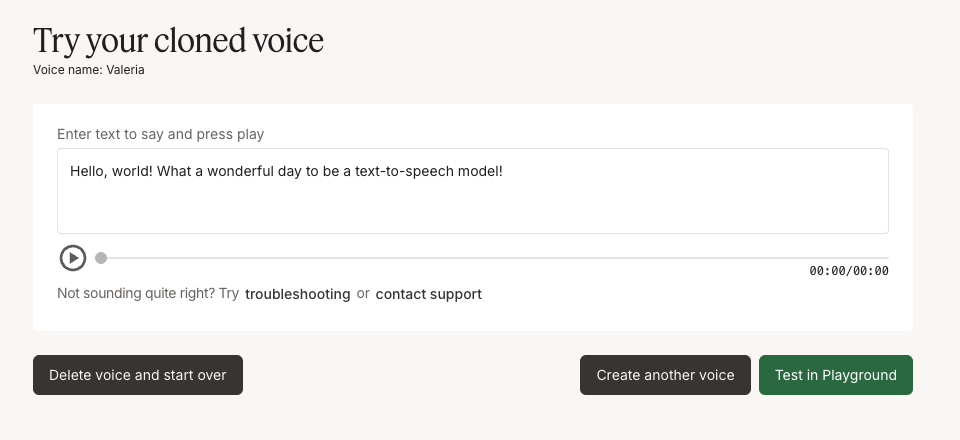
The number of cloned voices you can store depends on your subscription plan. See the Pricing page for per-plan limits.
Use your cloned voice via API
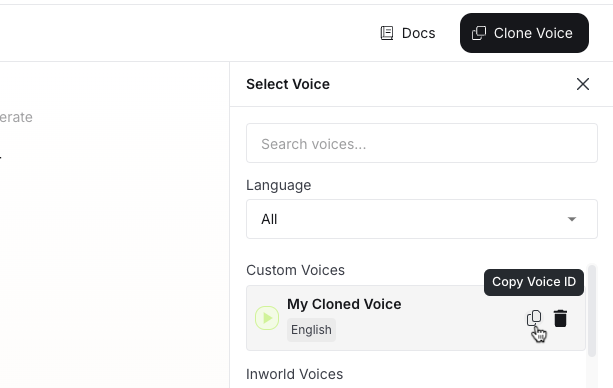
voiceId when making an API call. See our Quickstart to learn how to make your first API call.Clone a Voice via API
If you want to automate voice cloning (for example, to support creator onboarding at scale), use the Voice Cloning API.- API reference: Clone a voice
- Node.js SDK:
cloneVoice()— clone a voice in a few lines with the@inworld/ttsSDK - Python example: example_voice_clone.py
- JavaScript example: example_voice_clone.js
Voice cloning has lower rate limits than regular speech synthesis. For details, see Rate limits.
Next Steps
Looking for more tips and tricks? Check out the resources below to get started!Professional Voice Cloning
Get a more similar, stable voice clone using a larger set of audio samples.
Voice Cloning Best Practices
Learn best practices for producing high-quality voice clones.
Speech Generation Best Practices
Learn best practices for synthesizing high-quality speech.
API Examples
Explore Python and JavaScript code examples for TTS integration.