Documentation Index
Fetch the complete documentation index at: https://dev.docs.inworld.ai/llms.txt
Use this file to discover all available pages before exploring further.
Create a Graph
In the Project tab, right‑click and chooseCreate > Inworld > Graph > Default or Character Interaction.
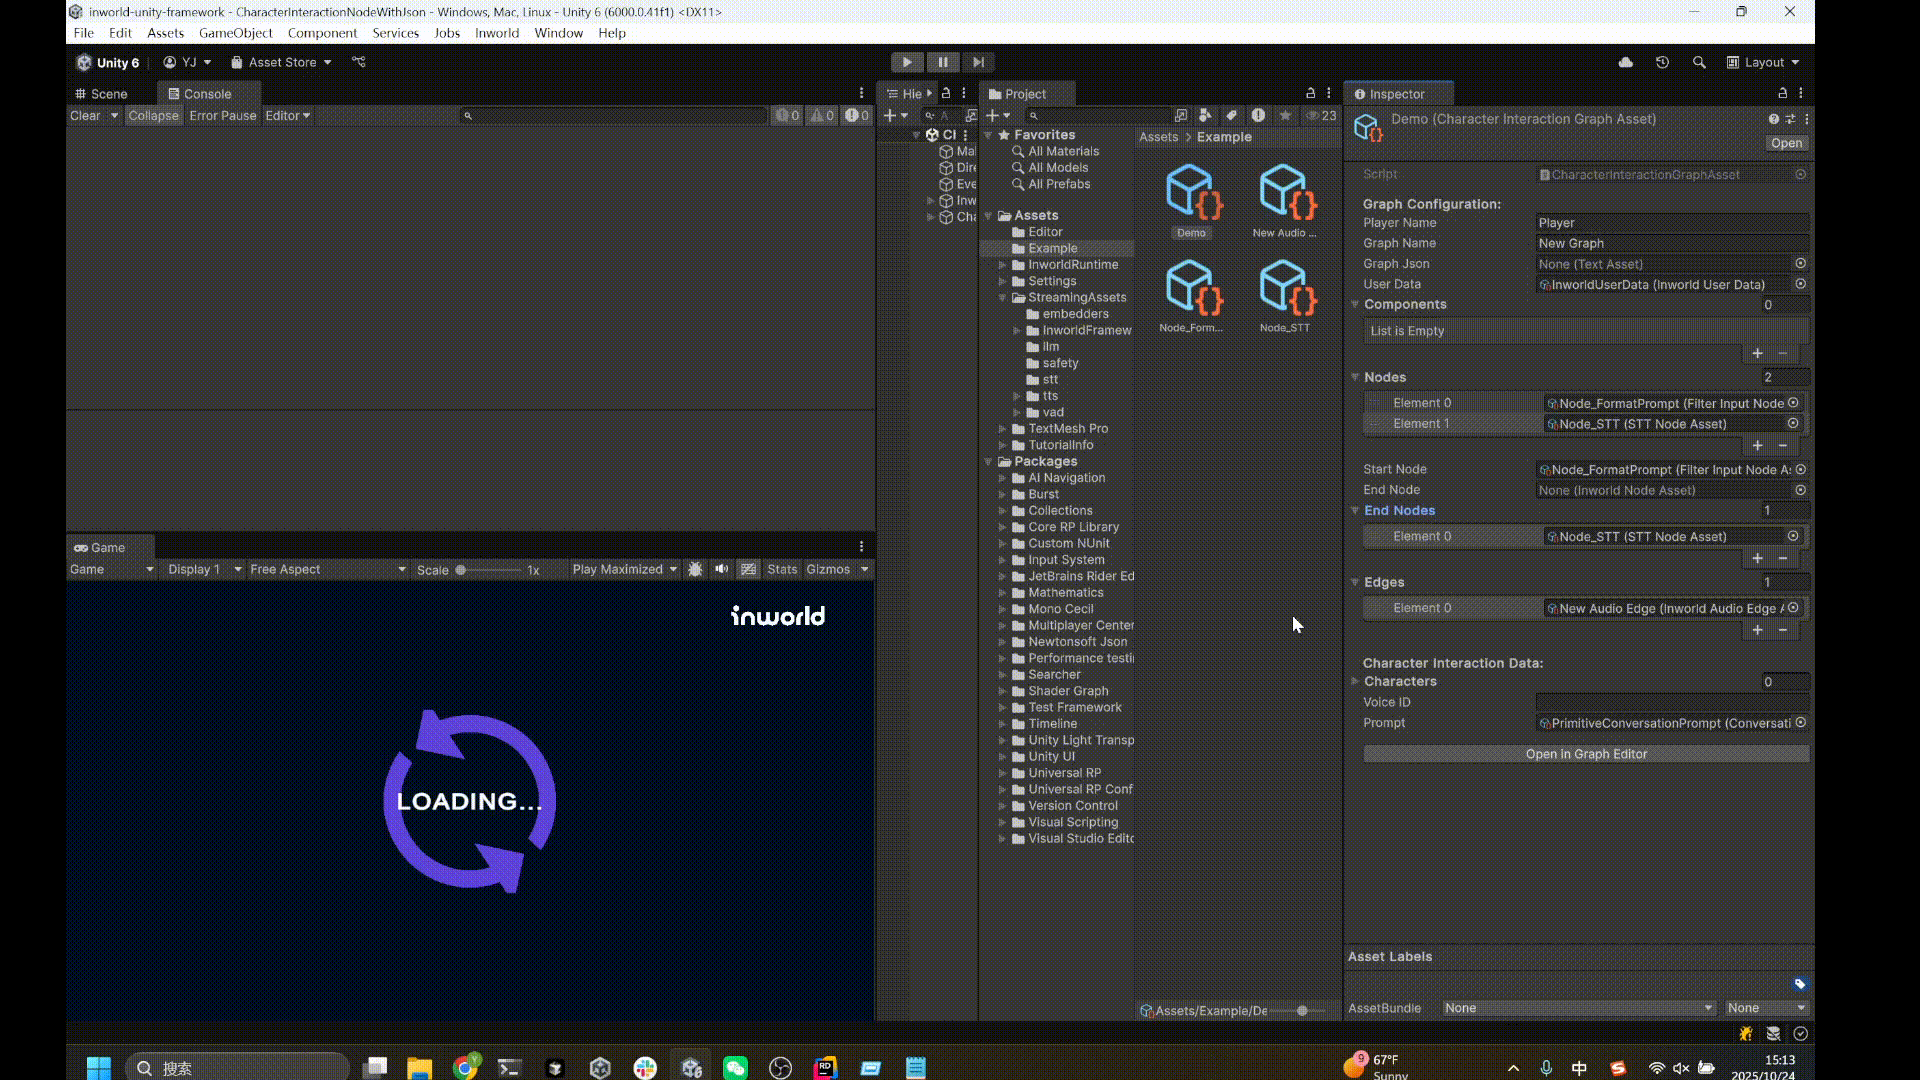
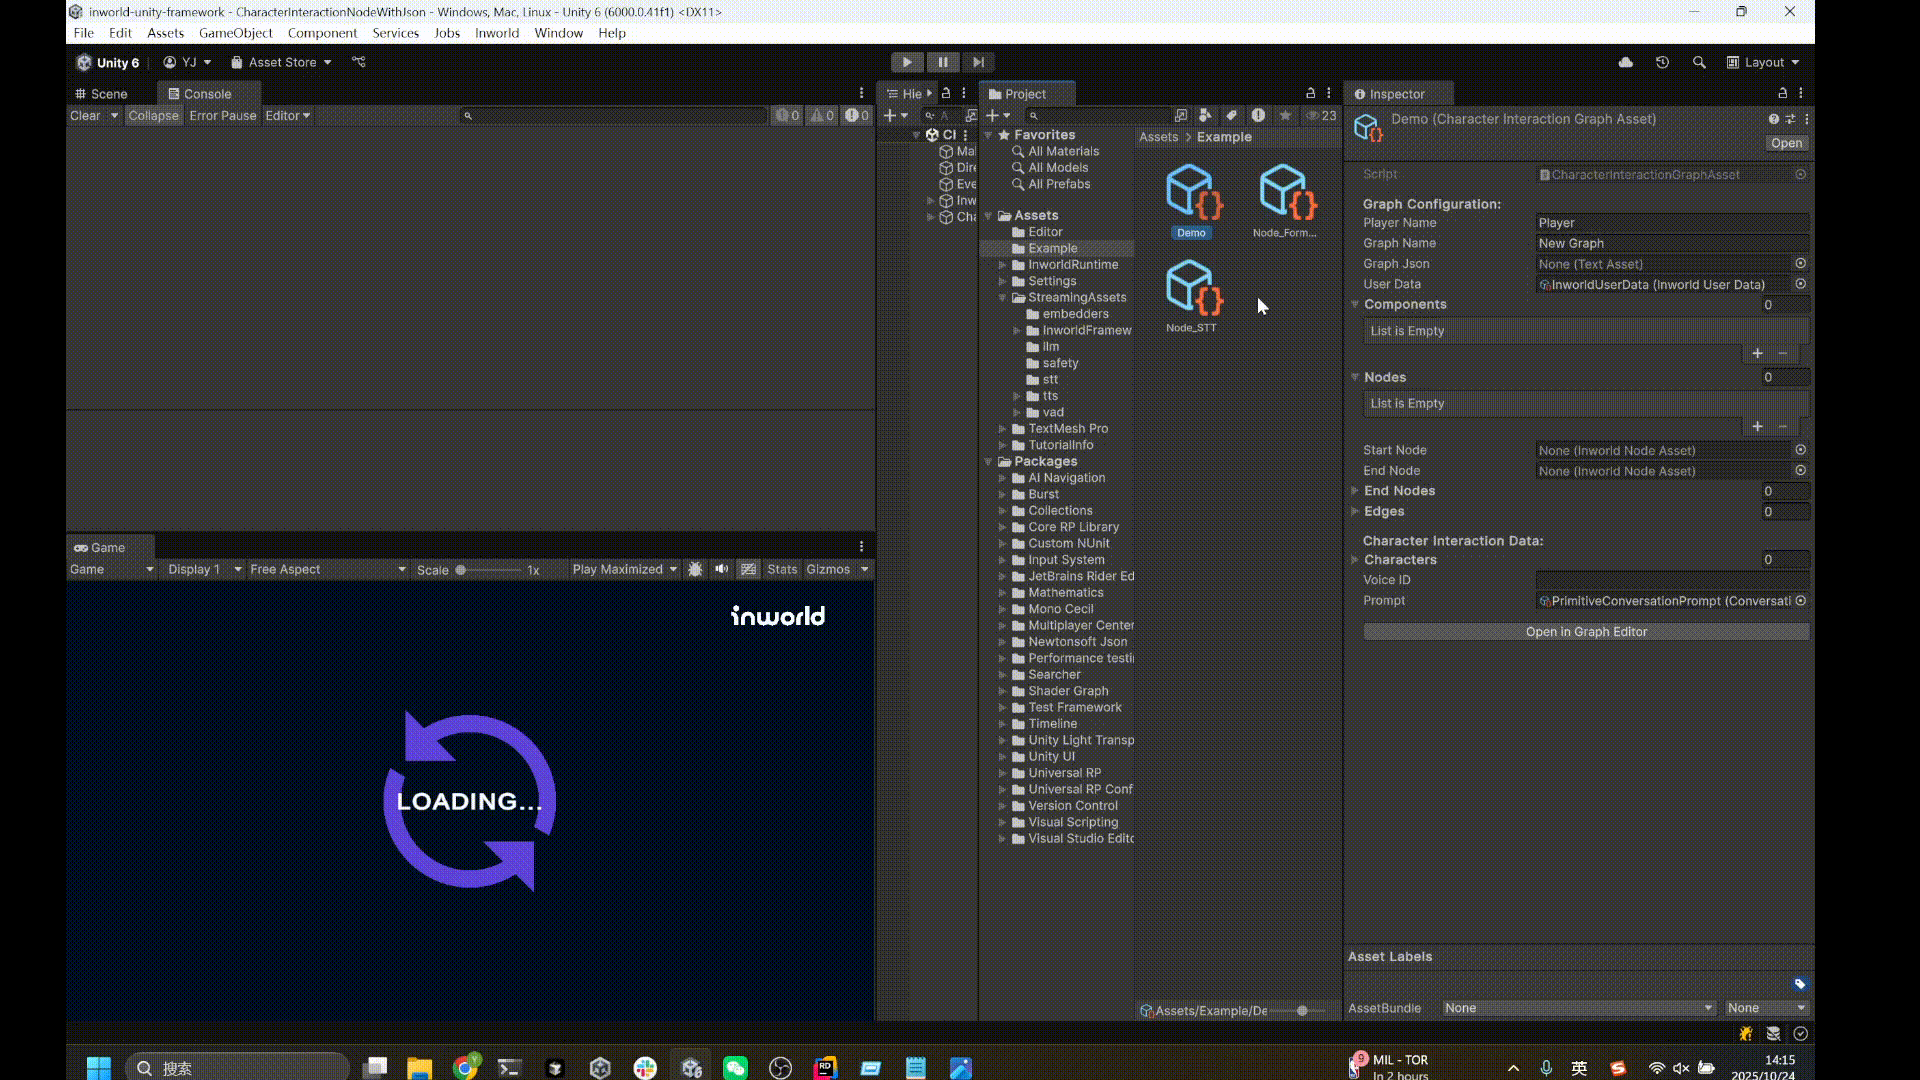
Fill in Required Fields
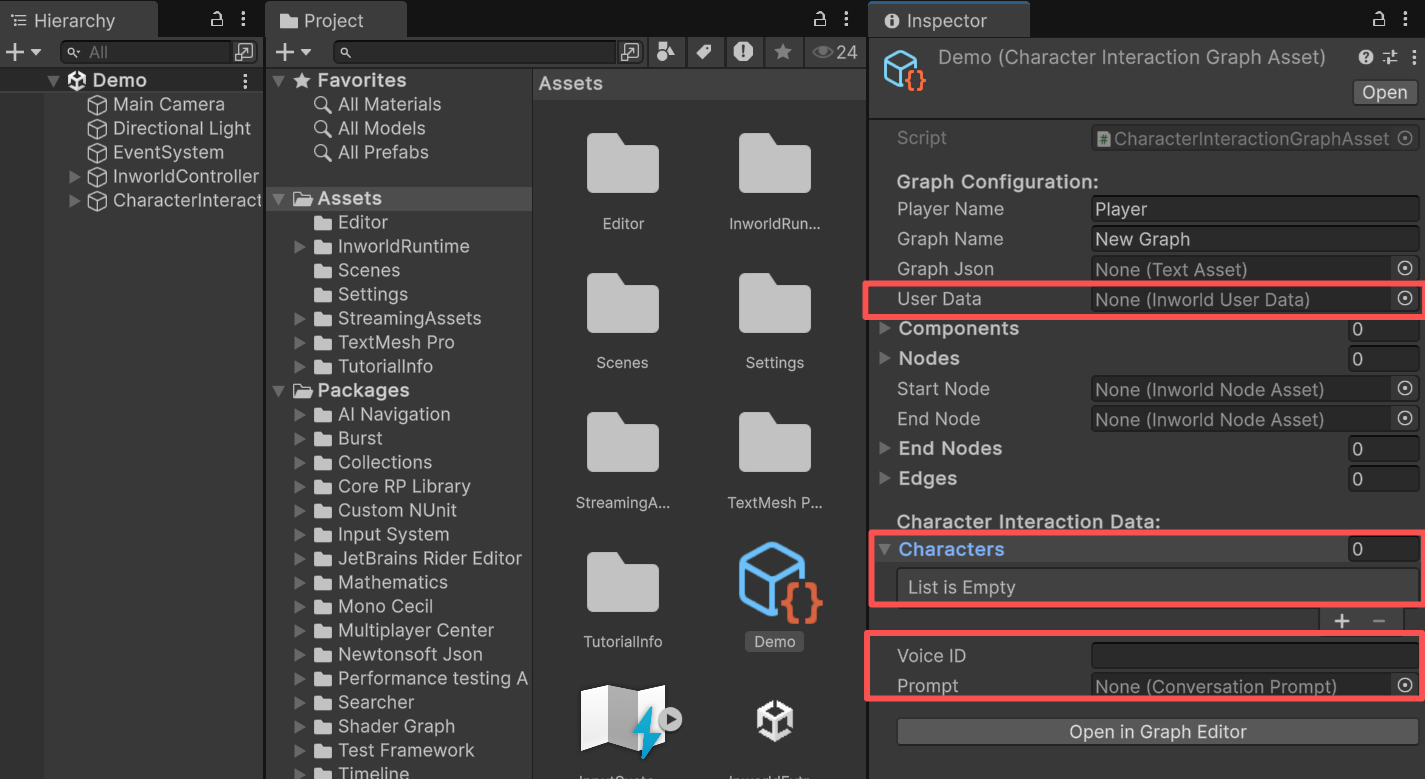
First, fill in the required fields; otherwise the graph will not run. The Default Graph is suitable for general tasks that are not related to character interaction. You can also inherit from Default Graph to implement more customized functionality. UserData is required.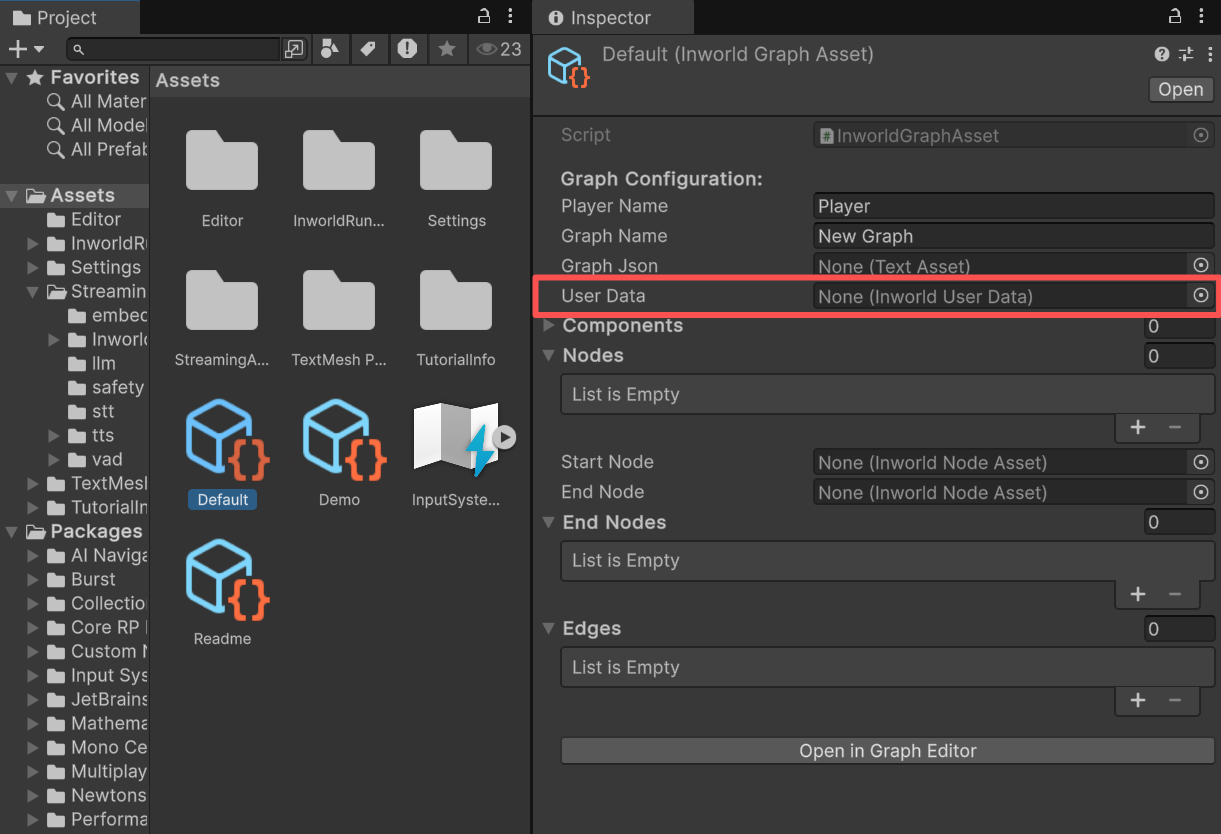
Voice ID.
If you plan to use an LLM node, provide a Prompt.
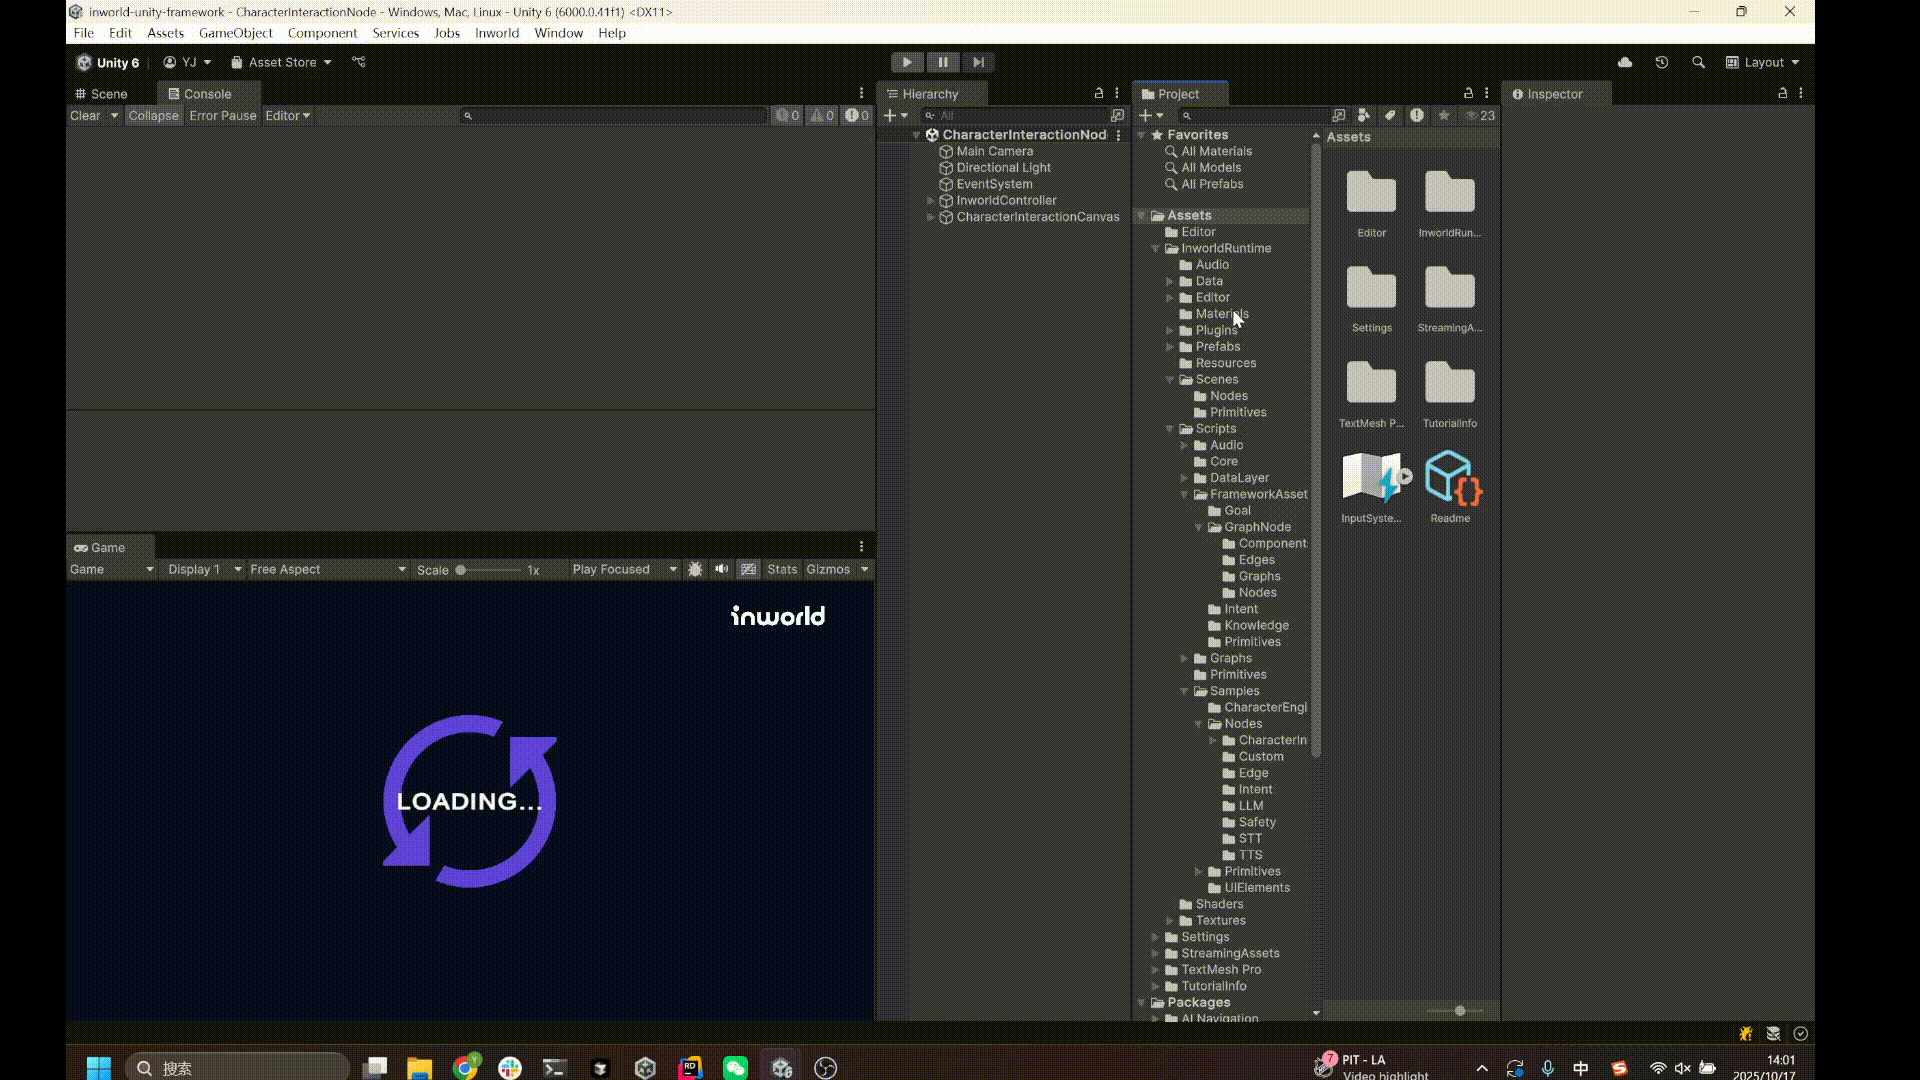
Create a Node
In the Project tab, right‑click and chooseCreate > Inworld > Create Node, then choose your node type.
For the custom nodes used in Character Interaction (such as
FilterInput, FormatPrompt, etc.), they are stored under CharacterInteraction.Node Name under General Configuration.

Add a node to the graph
You can drag it directly into the graph’sNodes list.
Create an Edge
In the Project tab, right‑click and chooseCreate > Inworld > Create Edge, then choose your edge type.
Then assign the target GraphAsset, the source NodeAsset, and the target NodeAsset to the edge.
Edges list.

Create a New Custom Node/Edge Type
Without the Graph Editor, this is more involved. First, create a Unity script that inherits fromInworldNodeAsset (or the appropriate base type for edges).
Then add the [CreateAssetMenu] attribute to the class so it appears in the Create menu.
Configure Start/End Nodes
Although this step is handled automatically by the Graph Editor, it is required when creating a graph via ScriptableObjects. Drag the correspondingNodeAsset into the Start/End Node fields on the GraphAsset.
About End Node and End Nodes
We provide bothEnd Node and End Nodes fields. The only difference is that End Nodes supports multiple end nodes.
If you have only one end node, you can use either field.
Validate with Graph Editor
At any time, you can open the Graph Editor to review your graph. Any edits you make directly in the GraphAsset will immediately be reflected in the Graph Editor.